Preface
Some of my first blog posts focused around how to create a "scale " material from texture to render in Maya with V-ray. The Series " Making A Seamless Scale Material " took a more "traditional" approach to creating a tile-able scale pattern. I think this method still has its strengths as it also covers valuable tips and tricks that can be used in Illustrator and Zbrush, but I wanted to share another method for creating scales by using a program dedicated to creating scale-able, flexible, and tillable procedural textures in a node based- lossless editing environment.
I have been using Substance Designer almost exclusively for texture generation for the last year now and the amount of flexibility and possibilities that can be created are virtually endless. In truth, Substance Designer is no walk in the park for traditional texture artists. Its node based editing system and use of procedurals require you to think in a different way- but in the end, learning to to create a substance can be an invaluable skill that can be used across industries from Games and VFX to Visualization, Architecture and Design.
The ELEPHANT in the Room
First off, I thought I would take a moment to go over the obvious - I have a lot of content focused on scales! At the moment, we might as well call my blog The CG scales Enthusiast. The reason why is that a majority of my volunteer projects and personal projects have revolved around making scales, or amphibian- like surfaces. Starting with my personal project, "A Day at the Pond" I have been catapulted into a world were everything is "reptilian" or "Fishy" in nature. I have detail modeled and surfaced three unique dinosaurs - two Syracosuaruses and one Dromaeosaur for Dino Hunt. In my personal work, I have developed creatures with scaly or amphibious skin. One such personal project that makes use of Scales is my Elegant Seahorse.
Since a significant part of my "artistic life" has been taken over by reptilian and fishy design,I have begun to develop my own techniques and workflows through trial and error and online exploration to speed up the artistic process of making realistic and believable scale surfaces. The things that I find that I feel could be useful, I like to share with you all. I want to assure you that scales are not my only specialty and I have a lot of content coming that will focus on other things like hair, fur, and MDL.
My SCALE GENERATOR Overview
There are a variety of parameters that I am working on inside my scale generator texture. Ultimately I want to create a generator that is flexible enough for the user to create almost any cyclic, or romboid scale texture. My goal is to get this Generator as flexible as possible before sharing it on Substance Source for free use. My generator currently has the following controls :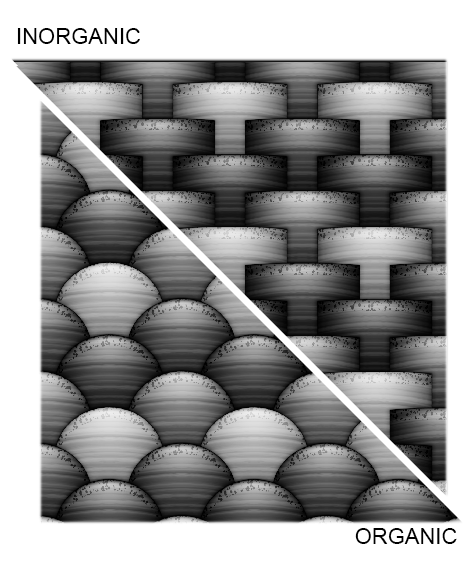 |
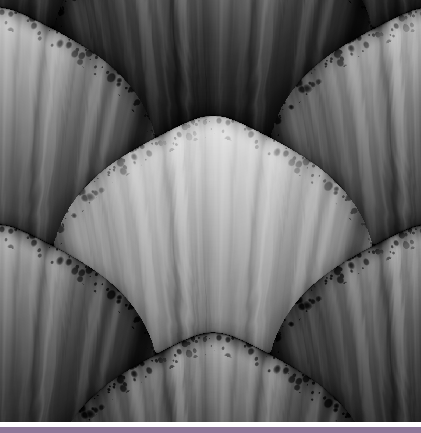
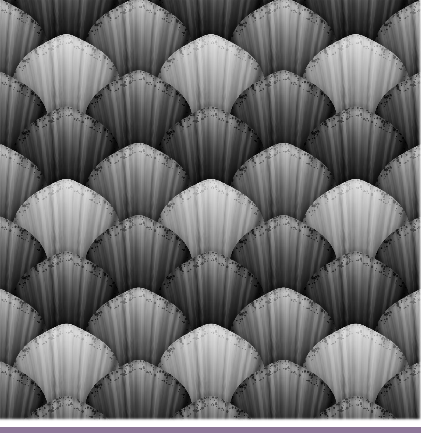
ORGANIC vs INORGANIC SwitchThe user can determine if the base shape of the scale is more rounded (organic) or squared (inorganic). |
SCALE WARP Slider
The user can enter a float via slider to affect the fall off of the scale shape. The scale warp can help to add more interest to falloff shapes. For Organic Scales, the Scale warp can make the silhouette of the scale appear more pointed or angular. For the Inorganic Scales, the Scale warp can create a peek-and-valley affect.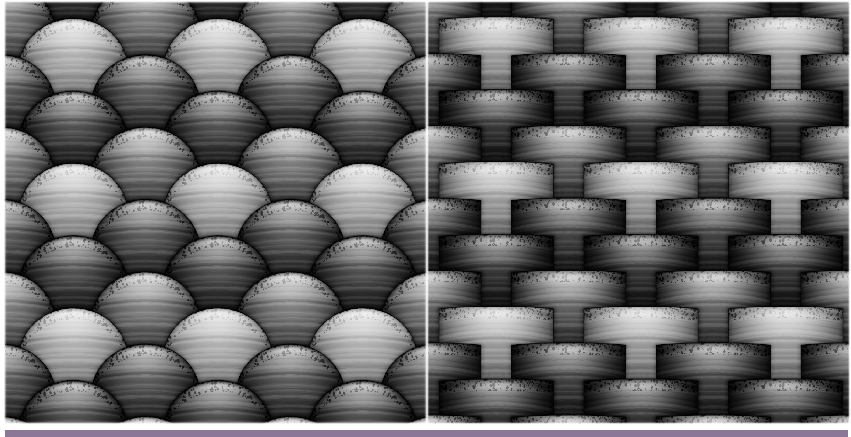
SCALE SIZE SliderThe user can determine the size of the scales. |
|
GRADIENT FALLOFF Slider
The user can determine how large or small the gradient appears inside the scale silhouette.
VERTICAL RIDGES vs HORIZONTAL RIDGES Switch
The user can toggle between horizontal and Vertical Ridge orientation. I hope to add additional functionality allowing the user to add "reticulation" to warp the ridge lines as well as allowing the user to choose from other pattern types like "Shell" , "Liquid" .
EDGE WIDTH SliderAllows the User to determine the width of the border edge around each scale. |
|
EDGE DISTANCE Slider
Allows the User to determine the "distance" of the edge, making it appear more beveled.RIM OFFSET Slider
Allows the user to determine the thickness of the Spotted rim on individual Scales.Spot Disorder Slider
Allows the user to adjust, tweak the disorder and placement of the spots within the Rim Mask,VALUE Slider
The goal is to allow the user to determine the amount of variation there is in the scales with a value mask. At the moment , this slider acts more as a variation weight parameter, but the goal is to create randomization in the colors to create a varied greyscale mask.Generator OUTPUTS:
The Generator has a total seven Outputs. I Do think that the amount of outputs it has is a lot, but I love having control and being able to pull individual parts from my generator if I need to, I will probably work on cutting this number down.
1.) Combination - This Output Combines all of the masks into one Output for easy preview. 2.) Gradient - This output isolates the scale gradient 3.) Ridges Output - This output isolates just the ridges in the Generator. 4.) Edges Mask - This output Isolates just the edges. 5.) Rim Mask - This output Extracts the width of the Rim Selection. 6.) Spots Mask : This Output extracts just the spots in the scales for easy selection. 7.) Value Mask: This output pulls the value variation from the generator.
CONCLUSION
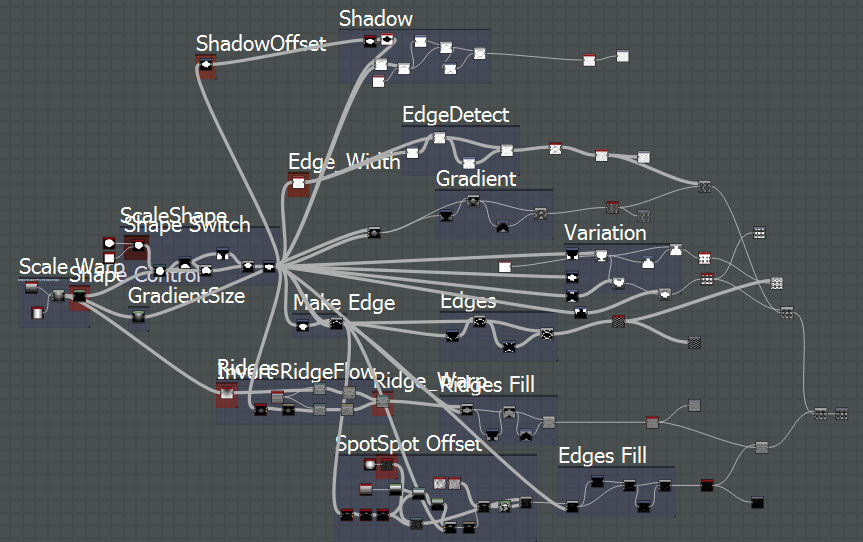
I still have a bit to work on with this generator until I make it available to download. Right now, it is pretty generic and rigid. I need to take a look at the pixel processor to add more variations to the ridges pass. I also need to look into a better algorithm that can help me randomize variation a bit more for the value mask.I will continue to add to this exploration until the generator is ready to publish, in the meantime, here is a screenshot of my current messy graph :
Comments
Post a Comment