
WIP: Elegant Seahorse Part IV


This time around, I have continued to improve and block out the turntable for the seahorse. I Developed a slightly less tedious way to do the fins. It requires a few more steps but, in the end , it yields better results that require less tweaking. Looking closely at the model, it is apparent that the fins o the left side of the body look a little different than the right side of the body. This is because I used a different method for the right side, so the fins look cleaner and more precise. On the left side, there is a bit of warping and pinching, but I think that can easily be fixed inside of ZBrush, or I can go back and apply my new method for generating fins from the spines. I didn't realize actually how hard it can be just to figure out what types of corals there are and how to compose them in nicely on the turntable. I have made a few 'alien' corals based off of real-world corals like tube coral, brain coral and pink coral. I hope that by the next pass, I will have had the time to flesh out the corals some more and to add some unique surface detail to them!

Maya Hardware Renders

These renders show some additional layout currently absent from my ZBrush scene. I have completed the spinal fins on the seahorse and I have begun adding additional objects to the environment.


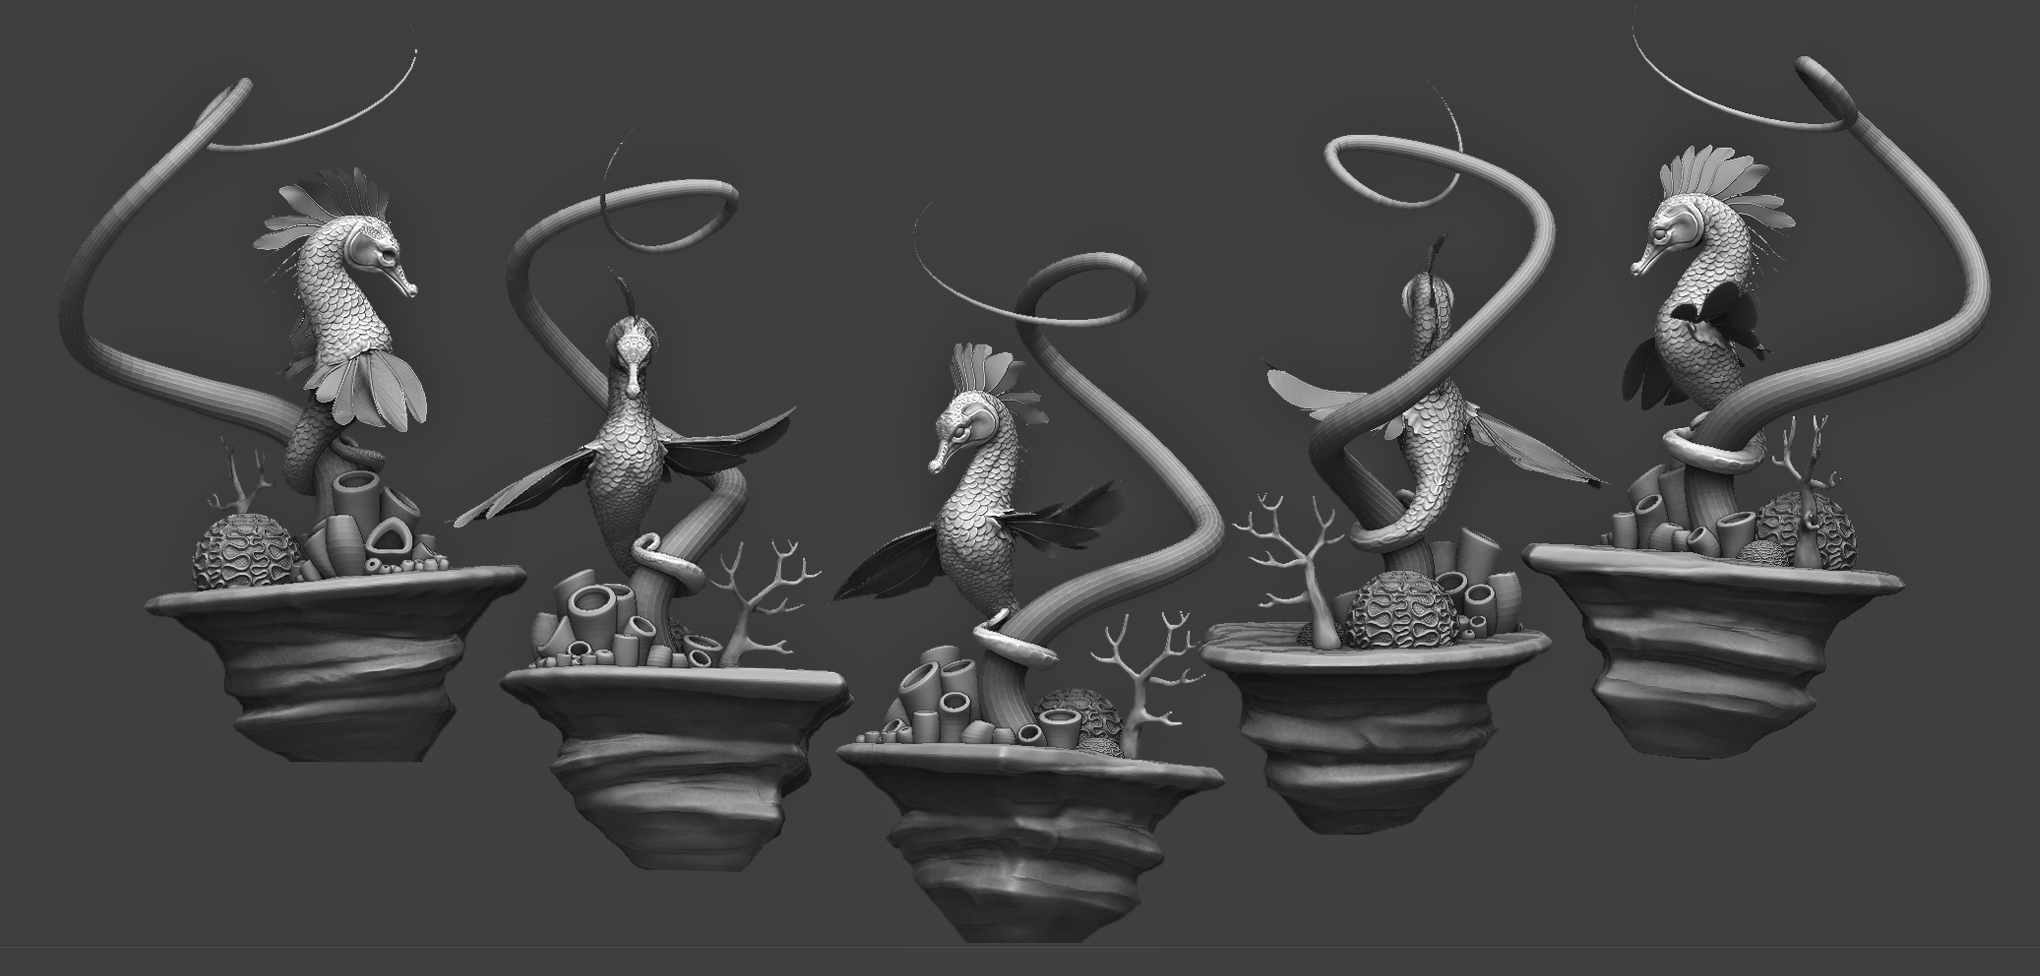
This is the current progress in my ZBrush file. I have built a few coral assets and I have begun to add detail on the stone ledge. I am still working on the fins, but I have added the top pair of fins into the ZBrush file.


<< WIP : Elegant Seahorse Part III || WIP : Elegant Seahorse Part V >>

Comments

Popular posts from this blog

Exploring Scales With Substance Designer

Preface Some of my first blog posts focused around how to create a "scale " material from texture to render in Maya with V-ray. The Series " Making A Seamless Scale Material " took a more "traditional" approach to creating a tile-able scale pattern. I think this method still has its strengths as it also covers valuable tips and tricks that can be used in Illustrator and Zbrush, but I wanted to share another method for creating scales by using a program dedicated to creating scale-able, flexible, and tillable procedural textures in a node based- lossless editing environment. I have been using Substance Designer almost exclusively for texture generation for the last year now and the amount of flexibility and possibilities that can be created are virtually endless. In truth, Substance Designer is no walk in the park for traditional texture artists. Its node based editing system and use of procedurals require you to think in a different way- but in the

Making a Seamless Scale Material Part I

Today, I wanted to share my process for creating a seamless, scale-able material that can either be projected onto Zbrush models or applied as materials to UV'd models inside of programs like Maya and 3Ds Max. I used this when creating my unique stylized scale surfaces. You can find breakdowns for them here : Stylized Scale Materials This is a tutorial that will be split into four parts. Below is an outline on what we will cover.  This post will be addressing part 1.            Part 1:  Approaching Scales and Creating a Pattern.           Part 2:  Refining your pattern in Zbrush.           Part 3: Creating a compelling and believable scale Material inside of Maya I will be using the following programs to create my Scale material : Adobe Photoshop (optional) , Adobe Illustrator (optional), Zbrush , Vray and Maya.  Part 1: Approaching and Creating A Pattern    Creating a seamless texture can be done in many ways. This tutorial goes over just one way to cr

Creating Spiny Fins With Curves and Surfaces ( Maya)

This "little" tutorial will go through the process of creating fins and fin shapes using curves and surfaces in Maya. I found this method to be the most "accurate"while building out the spiny shapes of fins in my current project, and thought I'd share my process. The tutorial below is broken down into three parts and will cover the basics of working with Curves in Maya. A. Building the Main Shape B. Creating the Spines C. Lofting Fin Shapes I will be diving into detail about certain tools in Maya. In this tutorial, I will go over using Live surfaces, converting edges to curves, lofting surfaces, converting nurbs to polygons, extrusions and moving constraints like snap to curve and snap to vertex. A. Building The Main Shape. Create a base curve . The base curve should match the center line of your mesh. This will define where the fin shape will start. If you have a mesh that is already topologized with a clean center line, extracting a curve f